S. Start
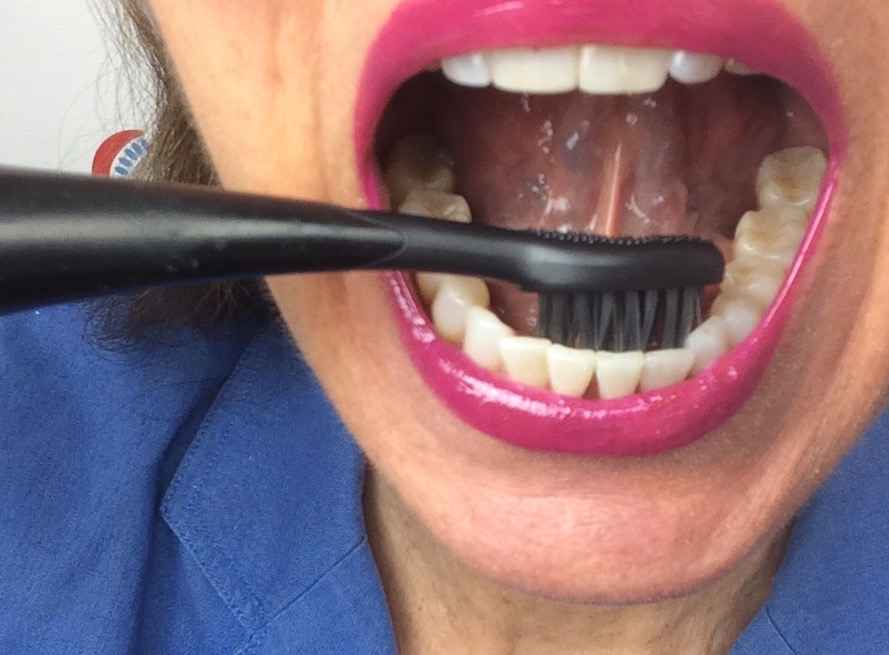
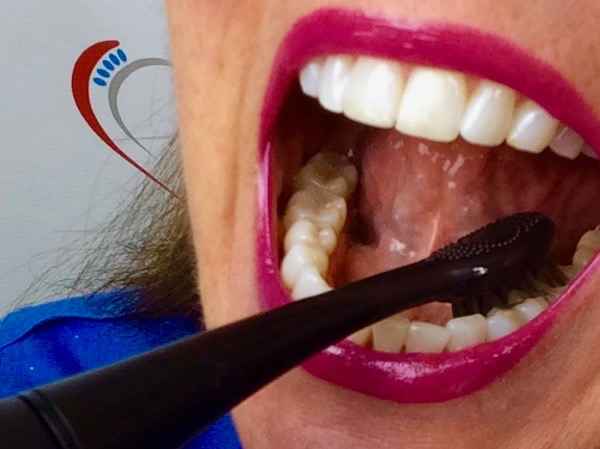
Start on the INSIDE of the lower front teeth--with a DRY toothbrush.
Do Not Wet Your Brush!
When you you start your brushing, your toothpaste will be more concentrated and therefore more abrasive. Put this to good use--otherwise it will take the enamel off your teeth, making them look more yellow, cause gum recession and it can also cause sensitivity to develop.
Under your tongue are two saliva ducts. This is what brings the minerals into your mouth which forms the tartar on the back of the lower front teeth. The other place you will typically form tartar first is on the cheekside of the upper molars.
M. Movement
From the very beginning, we are told to "BRUSH" our teeth. This is incorrect.
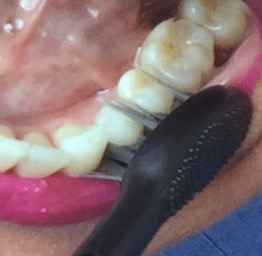
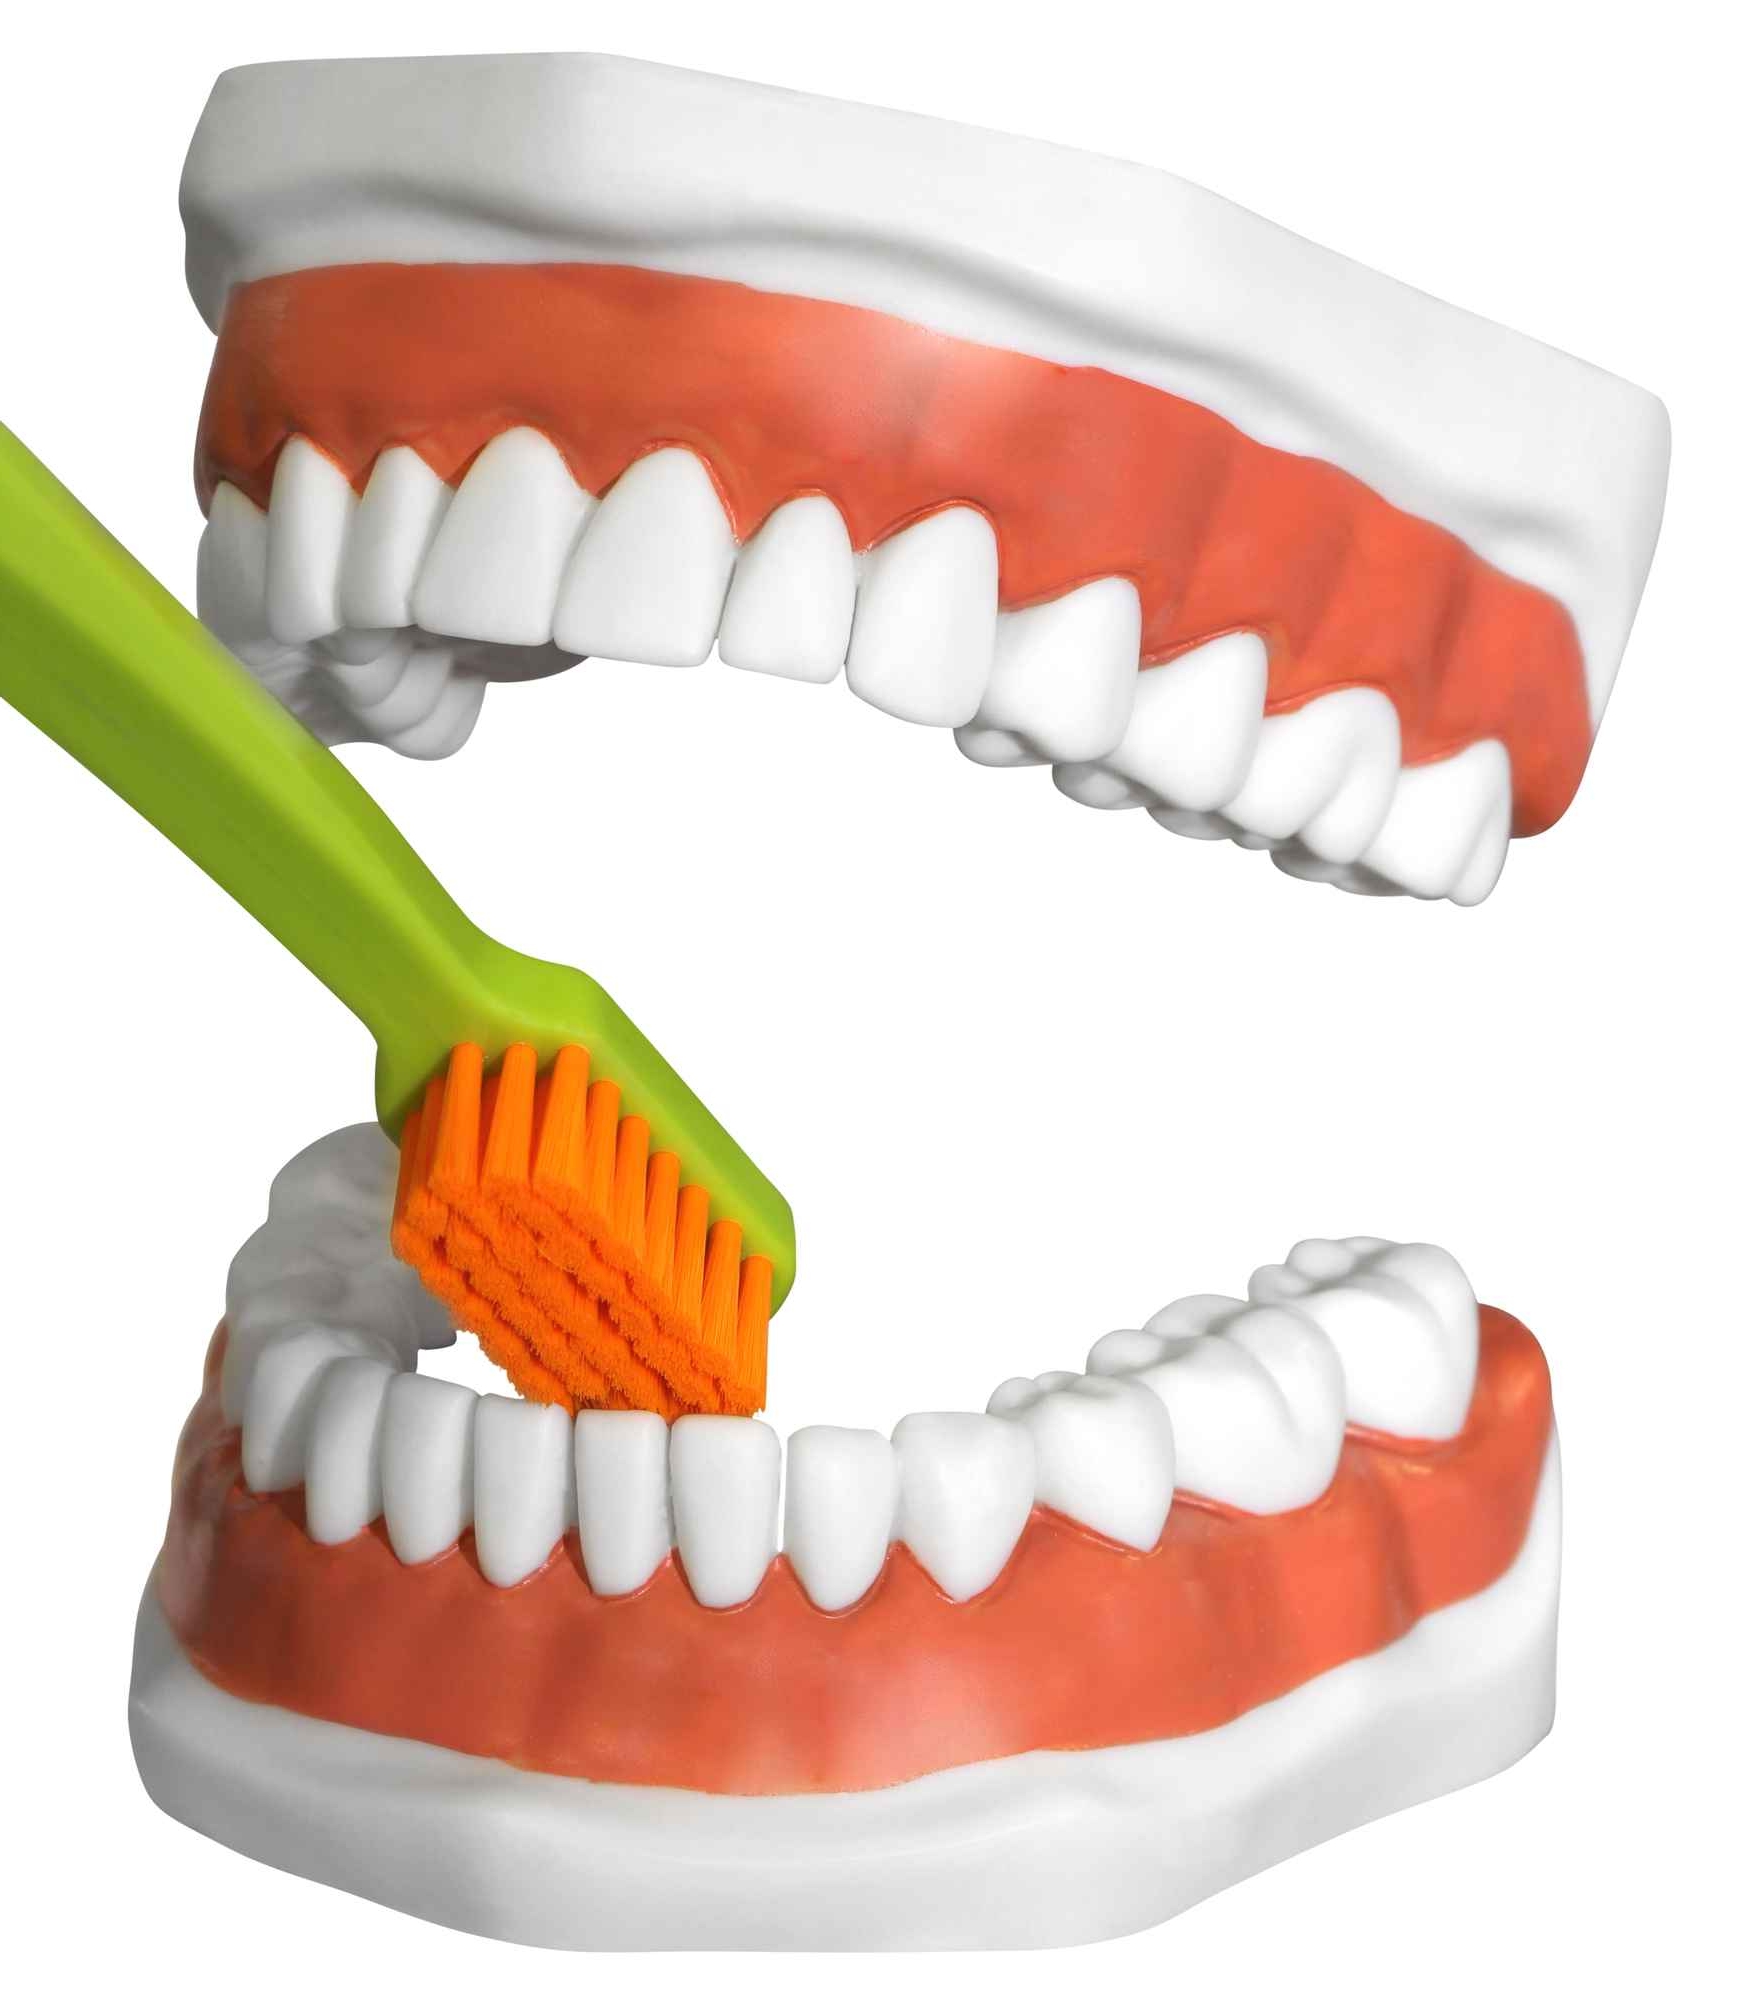
1. You actually should PIVOT, not "BRUSH"
2. Work on just TWO TEETH at a time
3. Do not "SCRUB" -- instead, place and pivot
4. You want to focus on the gumline, not the tooth
5. Long brush strokes "ski" across the high surfaces of the teeth, and do not allow the bristles to clean in between the teeth or into the gumline "turtleneck"
6. Long brush strokes also wear the round surfaces off, making the teeth flat, yellow, weak and unattractive.
L. Level
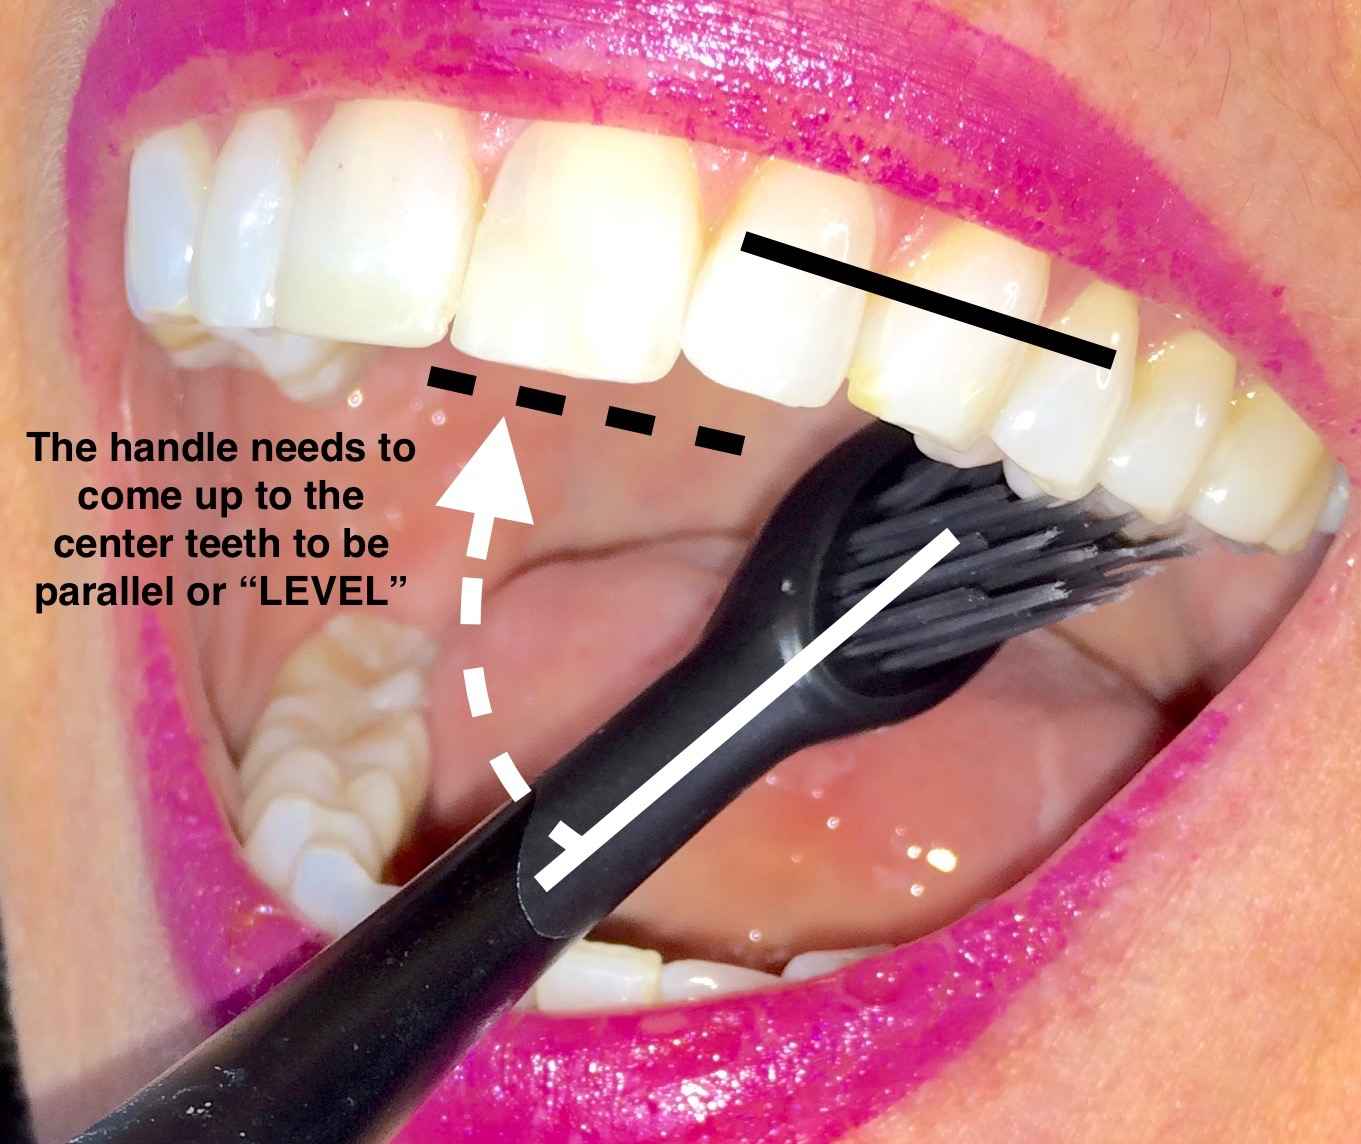
Bring it UP for the uppers...
Hold the toothbrush handle parallel or "Level" with the row of teeth
1. Easy enough to do on the OUTside of the teeth
2. But is rarely done on the inside
3. Keep your handle level by holding it like a flute
4. Do not "palm grip" your brush when doing the upper tongue side of your teeth.
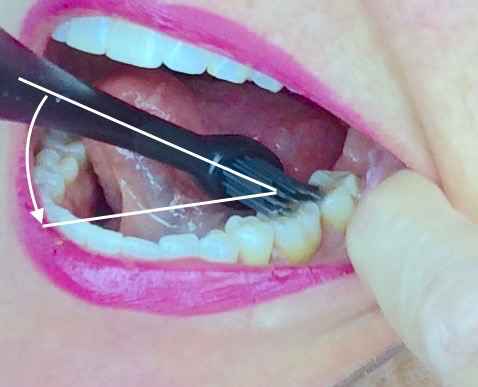
DOWN for the lowers
Like THIS ^
Down and Center (or Up and Center for upper teeth)
X
E. Ease Up
Brush Smarter, Not Harder
1. Mashing the brush against your teeth will not get them cleaner.
2. The working part of the brush is the bristle tips--not the long side of the bristle.
3. Use just enough pressure to create a slight flex in the bristles, but not so much that the tip arcs and flairs away from the tooth altogether.
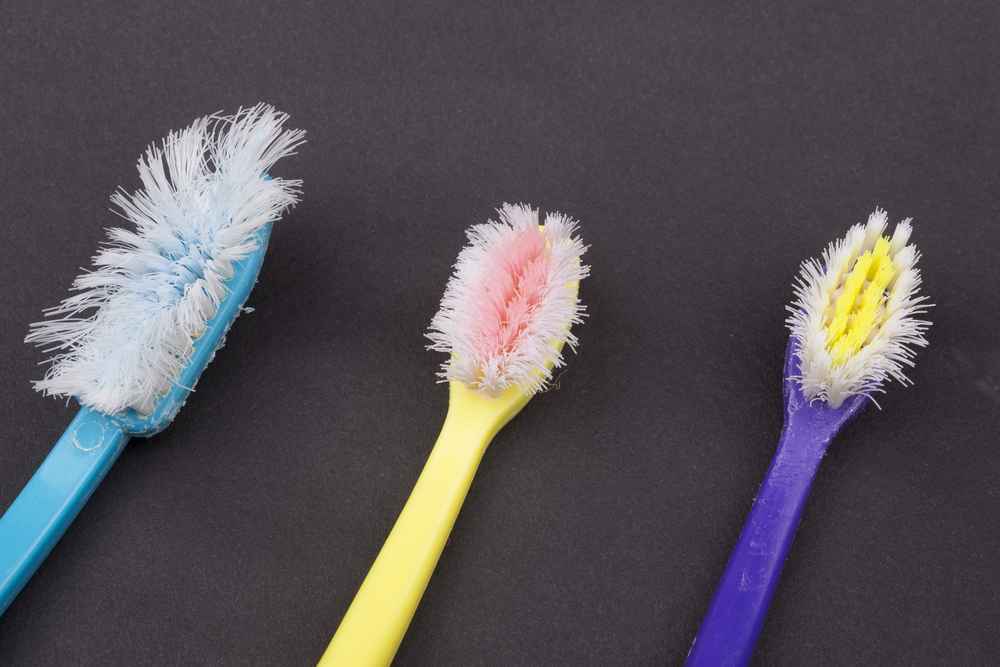
4. If your brush looks like the ones in the photo, you are pressing too hard.
Brush Longer, Not Stronger
Your brushing is going to be great, now.
But did you know that 40% of your tooth surface is not reached by the toothbrush bristles?
Yep. And that's even if there are spaces between your teeth. Only floss will get those areas rubbed free of plaque--that gooey, sticky film that causes bad breath, turns yellow, and eventually can make your teeth loose and fall out. Oh, and it also causes your gums to bleed and infects your blood.
Click below for the best flossing instructions ever!

